Getting a custom coil prototype is often slow and the quotes feel like guesswork. This delays your project and strains your budget. I'll show you our practical factory process.
To properly specify a solenoid coil, you must first define its core electrical and physical parameters, such as inductance, current, and dimensions. Then, choose a rapid prototyping method like manual winding or 3D printing to validate the design, which forms the basis for an accurate, itemized quote.
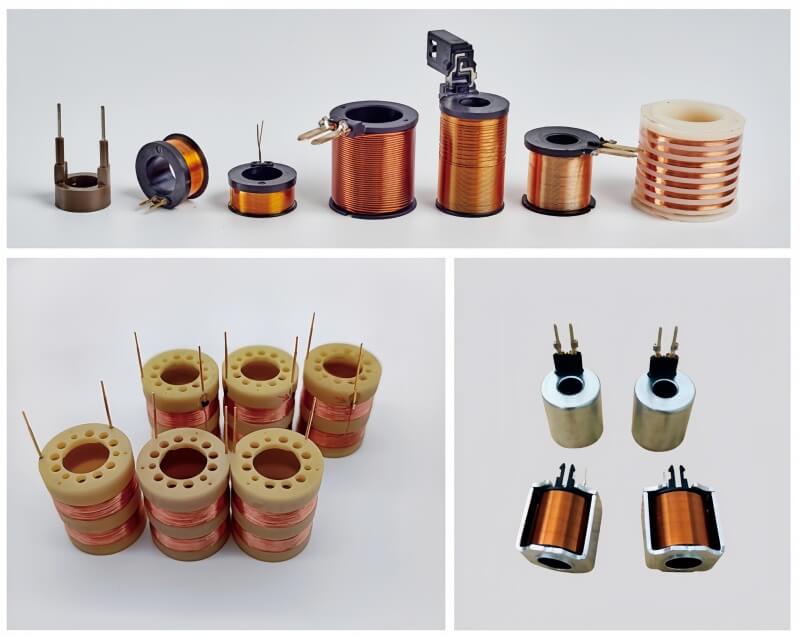
Before we dive into the hands-on methods, it's important to understand one thing. A good prototype and an accurate quote are two sides of the same coin. You can't have one without the other. When a prototype is successfully verified, it gives us, the manufacturer, the solid data we need to provide a quote we can both trust. An accurate quote also ensures that the prototype we build for you is based on a realistic cost structure, so there are no surprises down the line. Let's start with building that perfect prototype.
What Key Parameters Must You Define Before Prototyping a Coil?
Have you ever wound a coil only to find it completely misses the mark? It's a frustrating waste of time and materials. The solution is simple: lock in three key parameters first.
Before you even think about winding, you must define the inductance (L), the operating current (I) which dictates the wire diameter, and the physical dimensions. These include inner diameter, outer diameter, height, and how the lead wires exit.
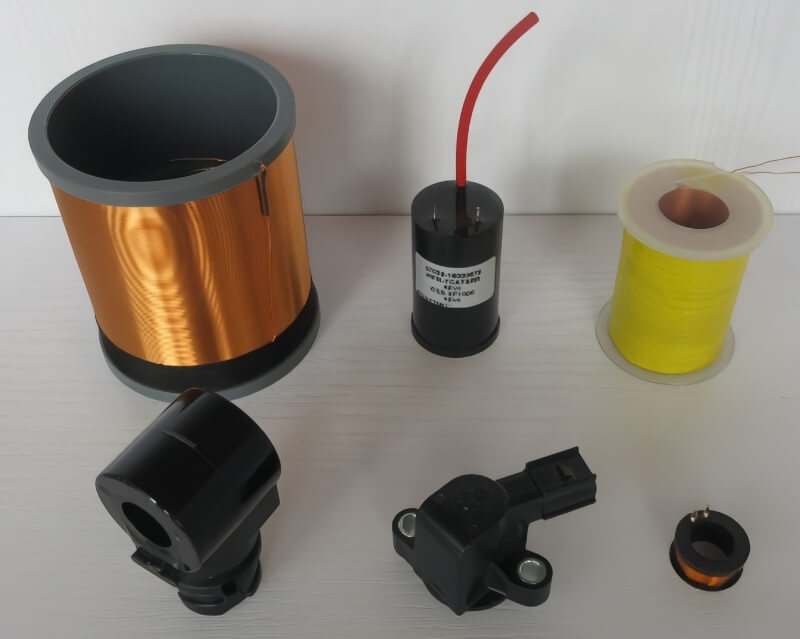
Getting these parameters right from the beginning is the most critical step. It’s the foundation for the entire project. If the foundation is shaky, the final product will fail. Let's break down why each of these is so essential. Getting them wrong means we are just guessing, and that's not how good engineering works. As a factory, we rely on these details to move from a concept to a physical part that performs exactly as you need it to. We see projects get delayed all the time because these initial specs were not clearly defined.
1. Electrical Performance Parameters
The electrical specs tell us what the coil needs to do. The most important is the Inductance (L), measured in microhenries (μH) or millihenries (mH). You also need to specify the test frequency, as inductance can change with frequency. Next is the Operating Current (I). This value directly determines the required magnet wire diameter. A wire that is too thin will overheat and burn out. A wire that is too thick is expensive and might not fit.
2. Physical Dimension Requirements
| The physical dimensions determine if the coil will fit into your product. We need to know the required shape and size. | Dimension | Description | Why It's Important |
|---|---|---|---|
| Inner Diameter (ID) | The diameter of the hole in the center of the coil. | Determines what the coil can fit over. For air coils, this is a primary factor in inductance. | |
| Outer Diameter (OD) | The total width of the coil. | Ensures the coil fits within its designated space or housing. | |
| Height | The length of the coil along its axis. | Affects the number of layers and total turns, impacting both inductance and resistance. | |
| Lead Wires | The style, direction, and length of the exit wires. | Critical for connection to your PCB or other components. |
Add current, copper loss and ampere-turns.
Check a DC winding at your supply voltage and entered copper temperature before preparing a prototype enquiry.
Check a DC solenoid windingForce, stroke, duty-cycle rating and operating temperature require further design and testing.
How Can You Create a Simple Prototype Manually Within a Day?
You need a working sample coil for testing tomorrow. Ordering one takes weeks, and you don't have that time. Here is a super-fast, low-cost manual method we use for urgent samples.
For a quick prototype, machine a simple winding mandrel from an acrylic or aluminum rod to match the coil's inner diameter. Then, wind the magnet wire by hand or with a cheap manual winder. Secure the windings with tape and solder on your leads.
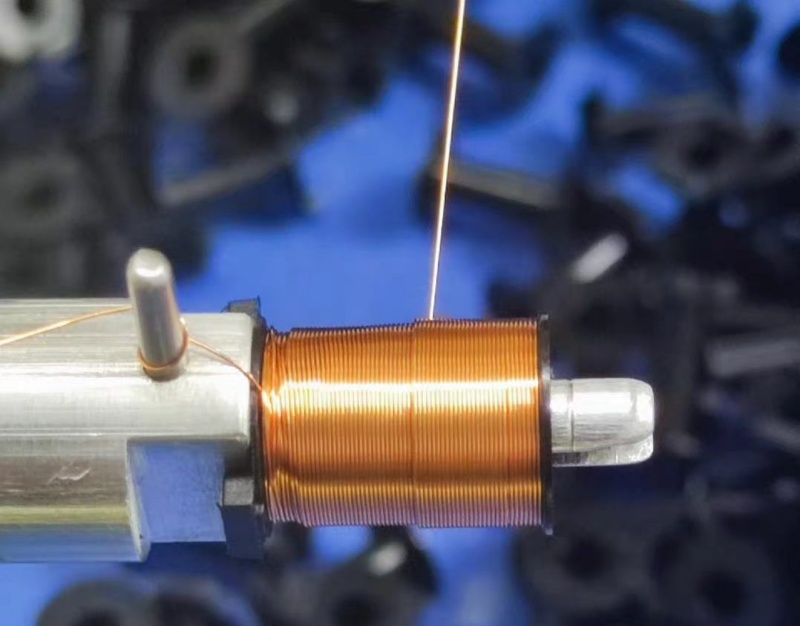
This approach is perfect when speed is the number one priority. It's not meant for producing consistent, high-volume parts, but it is incredibly effective for validating a design concept in less than 24 hours. I remember a time a client needed a sample for a trade show presentation the next day. We used this exact method, got the sample to them overnight, and they landed a huge contract. It’s about being practical and fast. You can worry about production-level consistency later. First, you just need to prove that the design works.
Step 1: Prepare the Winding Form
For an air-core coil, the easiest way is to use a metal or plastic rod. We just put a rod of acrylic, nylon, or aluminum on a lathe and turn it down to the exact inner diameter required. A small slot cut into the end helps hold the wire as you start winding. If you are making a coil on a bobbin, you can simply use a standard, off-the-shelf plastic bobbin. This avoids any need for custom molding, which is expensive and slow.
Step 2: Winding and Securing
You can wind the wire carefully by hand for a small number of samples. The winding won't be perfectly neat, but it will work for initial tests. For better consistency, a simple hand-cranked winding machine is a great investment. They cost very little and have a counter to track the number of turns accurately. After winding, pull the wire slightly taut to prevent looseness. Then, wrap the outside of the coil with high-temperature tape or fish paper to hold everything in place. For air-core coils, a few drops of quick-drying epoxy or UV glue between layers will make it solid.
Step 3: Finishing and Testing
Once the coil is wound and secured, you need to prepare the lead wires. Gently scrape the enamel insulation off the ends of the magnet wire with a blade or use a chemical stripper. Then you can solder on flexible wires, terminals, or PCB pins. Finally, the most important part: testing. Use an LCR meter to measure the inductance at the specified frequency and the DC resistance (DCR). If possible, pass the rated current through it to check for any temperature rise.
Is 3D Printing a Faster Way to Prototype Custom Coils?
Your new product requires a coil with a unique, non-standard shape. Machining a custom bobbin is expensive and takes days. 3D printing is a fantastic solution that can solve this problem quickly.
Yes, 3D printing is often the fastest method for prototyping coils with complex or custom shapes. You can model a custom bobbin in CAD software, print it in under an hour, and immediately begin winding. This eliminates machining time and costs.
We started using 3D printing in our lab a few years ago, and it completely changed our prototyping workflow for complex projects. It gives us the freedom to create any bobbin shape imaginable. If a design needs a small change, we don't have to go back to the machine shop. We just edit the CAD file and print a new version in minutes. This ability to iterate so quickly is a massive advantage for any R&D team. It allows you to test more ideas in less time, leading to a better final product.
The 3D Printing Workflow
The process is very straightforward. First, you or your engineer designs the custom bobbin or winding fixture using any standard CAD software like SolidWorks or Fusion 360. The design can include integrated features like mounting tabs, wire channels, and terminal pins. Next, you export the model as an STL file and send it to a 3D printer. For most coil applications, materials like photosensitive resin (SLA) or PLA (FDM) work perfectly well. The printing process itself can take anywhere from 30 minutes to a few hours, depending on the size and complexity. Once the print is finished, you have a precise, custom-made bobbin ready for winding. The rest of the process is the same: wind the wire, secure it, and test the final coil.
Key Advantages Over Traditional Methods
| The benefits are clear, especially for non-standard designs. | Feature | 3D Printing | Traditional Machining |
|---|---|---|---|
| Speed | Hours | Days | |
| Cost | Very Low (pennies for material) | High (labor and machine time) | |
| Complexity | Handles complex, organic shapes easily. | Limited to simpler geometries. | |
| Iteration | Extremely fast. Edit file, reprint. | Slow. Requires new setup and machining. |
What Common Pitfalls Should You Avoid in Coil Prototyping?
Your prototype coil looks perfect, but it fails completely during electrical testing. Now you have to start all over again. You can save yourself this headache by avoiding a few common mistakes.
The most common pitfalls are ignoring wire gauge and tension, which causes inductance deviation, and failing to secure loose windings, which leads to parameter drift. Also, long leads on high-frequency coils and undersized wire for high currents cause major performance issues.
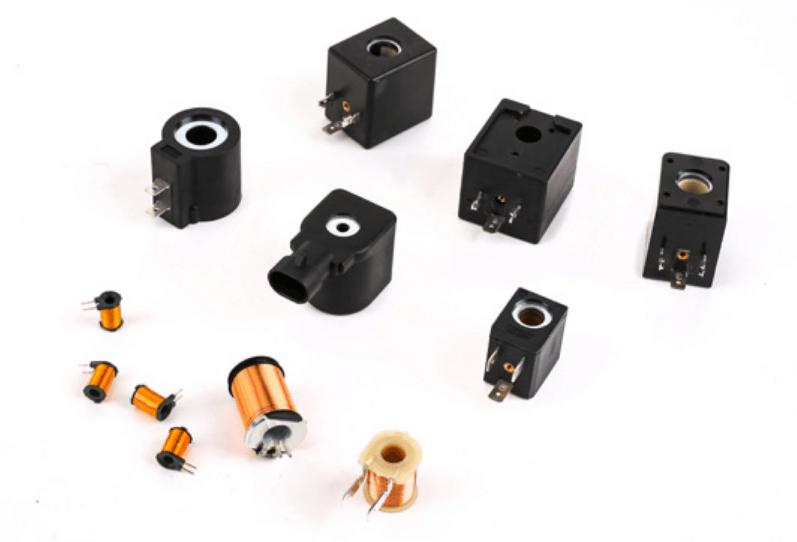
I've seen these same mistakes happen over and over again. An engineer will spend all day focused on getting the turns count exactly right, but they use whatever wire is on hand and wind it loosely. The resulting coil has the wrong inductance and resistance, and its performance changes as soon as it vibrates or heats up. Prototyping is about more than just the number of turns. It's about building something that reflects how the final, mass-produced part will actually perform in the real world. Avoiding these simple traps is key to a successful prototype that transitions smoothly into production.
1. Electrical and Physical Mismatches
Don't focus only on the number of turns. The inductance of a coil is also heavily influenced by the wire diameter and how tightly and neatly the turns are packed together. A loose winding will have a different inductance than a tight one. Also, changing the turns count without considering the wire gauge is a classic error. If you add more turns to increase inductance, the DC resistance will also increase. If the wire is too thin for the current, it will get dangerously hot.
2. Mechanical Instability
An air-core coil with loose windings is not stable. Vibrations or changes in temperature will cause the windings to shift, which in turn causes the inductance to drift. This is unacceptable in most applications. Always make sure the windings are secured, either with tape, epoxy, or by winding on a solid bobbin. This simple step ensures that the coil's electrical properties remain stable over time and under different operating conditions.
3. High-Frequency and High-Current Traps
For high-frequency coils used in RF applications, the length of the lead wires is critical. Long leads act as their own inductors and capacitors, creating parasitic effects that can ruin the coil's performance. Keep leads as short as possible. For high-current coils, like those in solenoids or power supplies, using an undersized wire is a recipe for disaster. The wire will overheat, its insulation will melt, and the coil will fail, potentially damaging other components in the circuit. Always calculate the required wire gauge based on the maximum current.
How Do We Accurately Calculate the Cost for a Custom Coil Quote?
You get a quote for a custom coil, but it's just a single number with no explanation. It feels like a random guess. This makes it impossible to budget your project with any confidence.
An accurate quote is built from a detailed cost breakdown. We calculate the exact cost of the magnet wire, the bobbin or core, and add the labor cost for winding. After adding costs for secondary materials, we apply our overhead and profit margin.
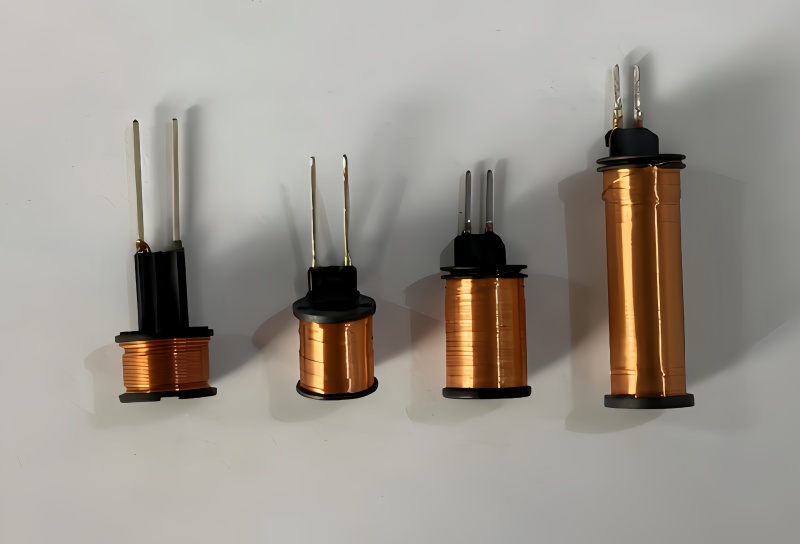
We believe in transparency. A quote should never be a mystery. When a customer understands how we arrive at our price, it builds trust. It also helps them make informed decisions. For example, they might see that a specific non-standard wire is driving up the cost and decide to switch to a more common alternative. A detailed quote is the foundation of a good partnership between the customer and the manufacturer. It shows that we have carefully considered their design and are providing a fair price based on real costs, not guesswork.
The Five Core Cost Components
Every quote we create is based on these five elements. The final price is simply the sum of these parts. Total Cost = (Wire + Bobbin/Core + Labor + Supplies) + (Overhead & Profit)
| Here is how we calculate each part of that equation: | Cost Component | How It's Calculated |
|---|---|---|
| Magnet Wire Cost | We calculate the total length of wire needed (Avg. Turn Length x Turns). We convert this to weight using the copper density and wire diameter. The cost is this weight multiplied by the current market price for that specific type of magnet wire. | |
| Bobbin/Core Cost | For standard parts, this is simply our purchase price from the supplier. For custom-molded parts, the cost of the mold is amortized over the total production volume, or charged separately for prototypes. | |
| Winding Labor Cost | This is based on machine time. We calculate the cost per 1,000 turns on our automatic winding machines, plus the time it takes for an operator to load, unload, and finish the coil (e.g., soldering, taping). | |
| Supplies Cost | This includes small items like tape, glue, tubing, terminals, and solder. We calculate the cost per piece and add it to the total. | |
| Overhead & Profit | This percentage covers our factory's operational costs (management, electricity, etc.), accounts for a small amount of material waste (typically 3-5%), and includes our profit margin. |
By breaking it down this way, we can provide a quote that is both accurate and easy to understand. It ensures you are paying a fair price for the value you receive.
Conclusion
A successful custom coil project relies on a validated prototype and a transparent quote. By defining key parameters and using these practical steps, you ensure your design works and the price is fair.